Love To Make Homemade Holiday Gifts?
Try These Photo Cubes
Home
>>
Unique Holiday Gifts
>> Homemade Holiday Gifts
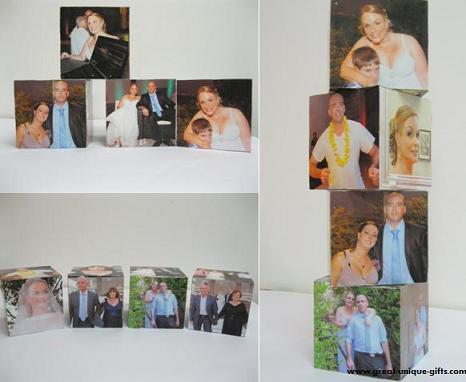
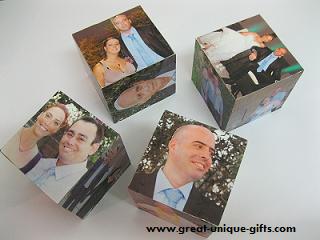
Photo cubes are great homemade holiday gifts.
With only 4 cubes you get 1296 different photo combinations and endless placement options. You can play with them and get a new home decor every day.
Use family photos and make it one of those special mothers day gifts or send it to grandma and grandpa as a unique holiday gift.
I made the photo cubes in the pictures from my wedding photos and gave it as a souvenir to my parents.
What You Need
- 24 photos – digital or scanned
- 12 A4 photo printing paper (available at any office supplies store)
- 4 wooden cubes 10x10x10 centimeter (you can buy them on DIY or craft stores or ask a carpenter to make cubes out of his leftovers)
- Pencil
- Scissors
- Plastic Glue
Prepare The Photos
When you look at the photos, select the ones with 1 to 4 main figures max. Think if you can put the figures inside a square.
Here is how you adjust the photos:
- Open a new word document.
- Minimize the margins (page layout -> margins -> narrow (or custom if you need to reduce them more)).
- Open the photo with Windows Photo Gallery.
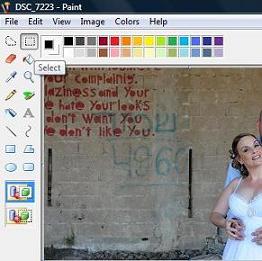
- Open the photo for editing in Paint (open -> paint). If you can't see the whole picture - zoom out (view -> zoom -> custom -> 25% or less).
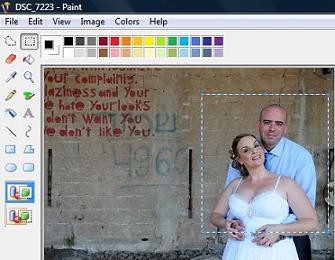
- Square the photo by cropping the "dead area" around the figures. You might need to crop a little from the figures - click on the Select icon and make a square around the main figures while clicking the mouse.
- Copy the squared part and paste it to the open word document (right click on the mouse while standing inside the square -> copy -> go to the word document -> right click on the mouse -> paste).
- Reduce or enlarge the photo until it is a bit bigger than the cube side (click on the photo -> re-size the photo by moving one of its corners).
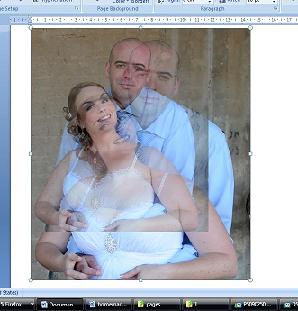
- Repeat this process for all 24 photos – you should have 2 pictures per page.
- Print all 12 pages on photo printing paper – I suggest you print one page at a time (click on the mouse in the page you want to print -> print -> print -> click on the "Current Page" box -> ok).
Tip – If you want to find out which side should be up when you place the photo printing paper in your printer try this. Write "this side up" on a regular paper, place it with the written side up in the printer and print something. If the print and what was written are on the same side place the photo paper that way, if not – turn it over.
Don't you love homemade holiday gifts? If you like craft the fun is about to begin :-)
Before you cut the photos measure the cubes. If all of them are exactly the same size (10x10x10 centimeter) you can use one cube to draw all the squares and cut them. You can cut the first one out and match it up to the others.
If you got your cubes from the carpenter, like I did, you have to work a little bit harder… Number the cubes from 1 to 4, and then number the sides of each cube from 1 to 6.
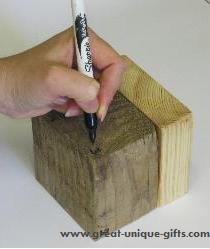
Place the cube on the photo. Make sure that the figures are in the center of the cube. Use a pencil to draw the square on the photo (don't use a pen – the ink might smear). On the back of the photo write the cube number and its' side number and cut it out.
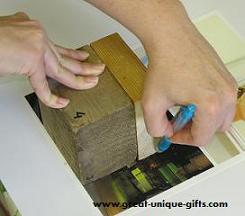
Are you ready to bring the photos to the cubes?
Apply a thin layer of plastic glue on the cube side. Make sure you spread the glue on the edges too. Then carefully place the squared photo on the cubes' side.
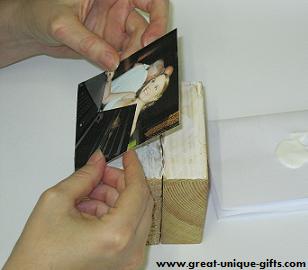
Use your fingers to press the photo and its edges to the cubes.
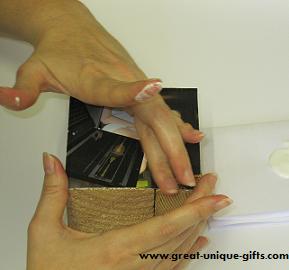
If you are a perfectionist like me and if you want your wonderful - homemade holiday gift to become perfect - make sure that your work surface is clean and doesn't have glue on it.Repeat this for all 24 pictures and… You are done!!!
Return from Homemade Holiday Gifts to Unique Holiday Gifts
Return from Homemade Holiday Gifts to Great Unique Gifts Homepage
